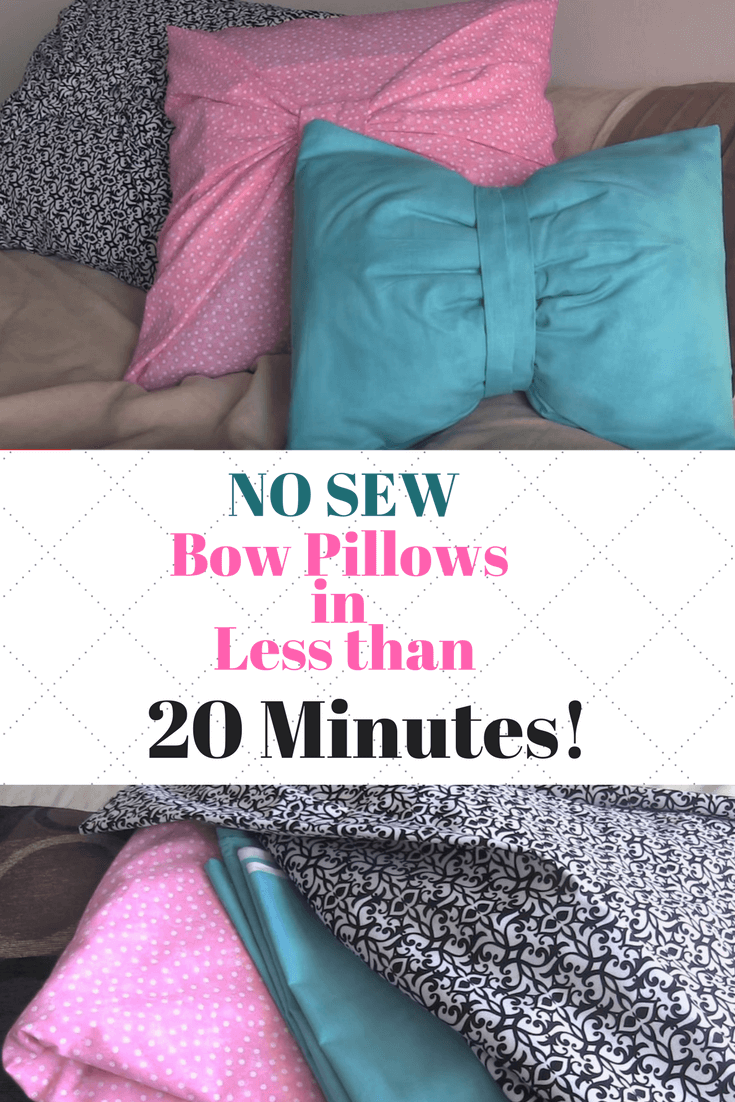
If you’re like me, then you probably have some old throw pillows hanging around, or you’re just sick of the ones you’re currently using and want to revamp your decor! These awesome no sew pillow covers will have you loving your decor again in no time. They are super easy to make, and don’t require a ton of materials! Give ’em a try and see how easy it is.
Here’s what you’ll need:
- Fabric, about a yard and a half per pillow you are covering.
- Fabric glue
- Hem tape
Let’s get started!
Square Pillow:
- Lay your fabric out and place your pillow in the center of it. Begin folding your fabric onto your pillow and trim any excessive extra fabric. See pictures below:
www.youtube.com 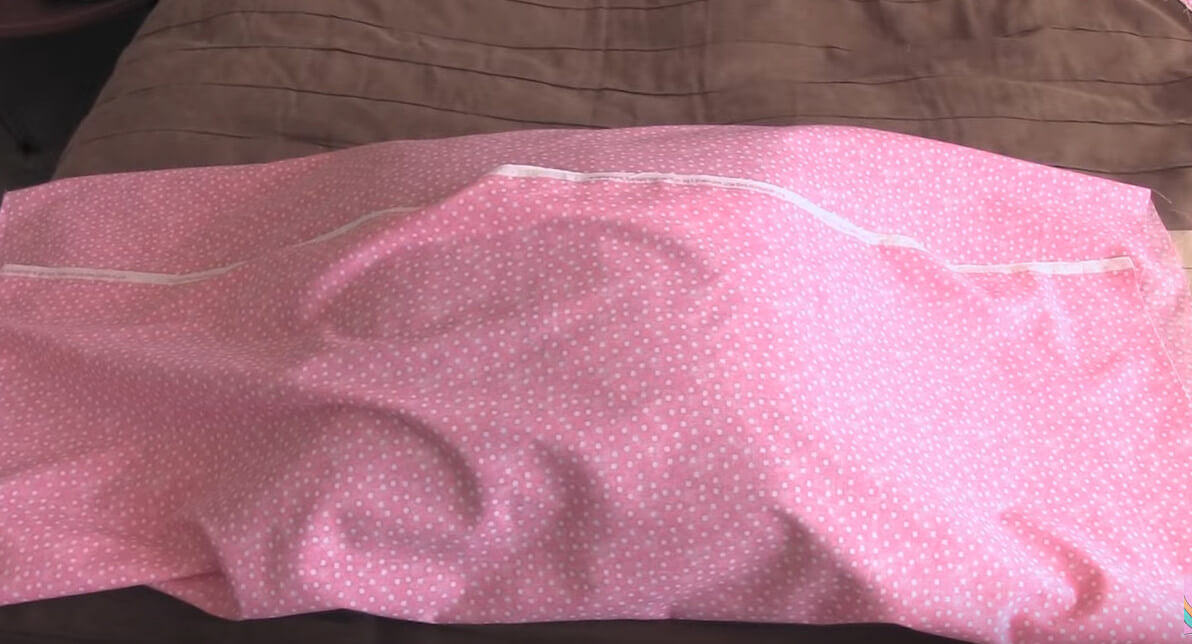
www.youtube.com 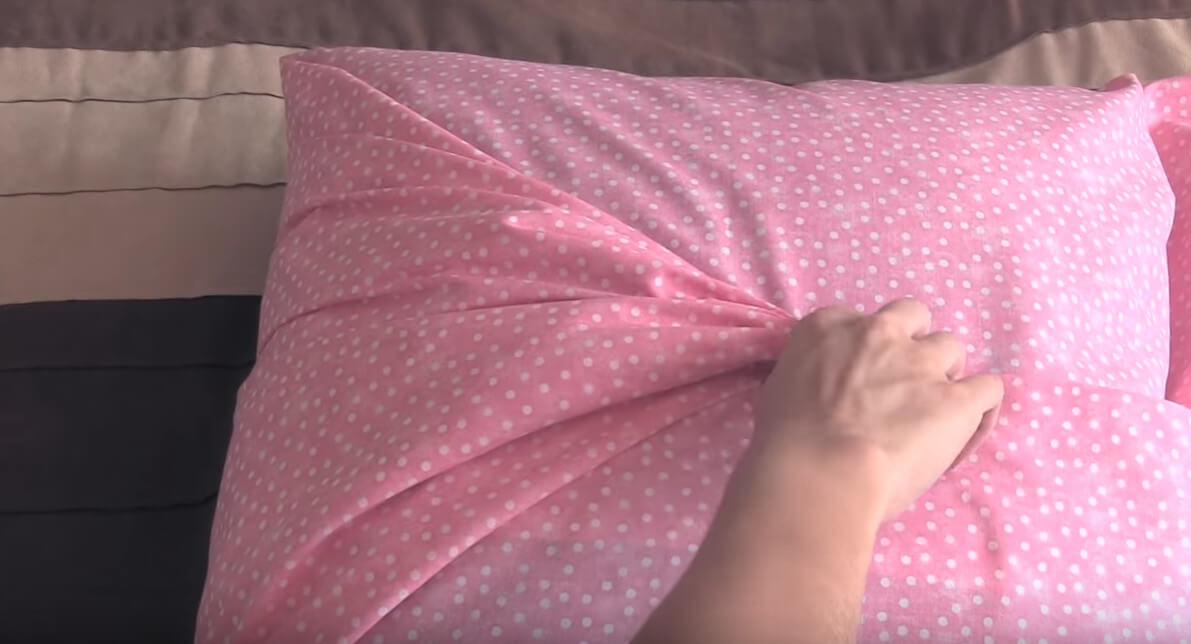
www.youtube.com - This step is optional, but we recommend it: Iron your fabric so it lays nice and flat on your pillow.
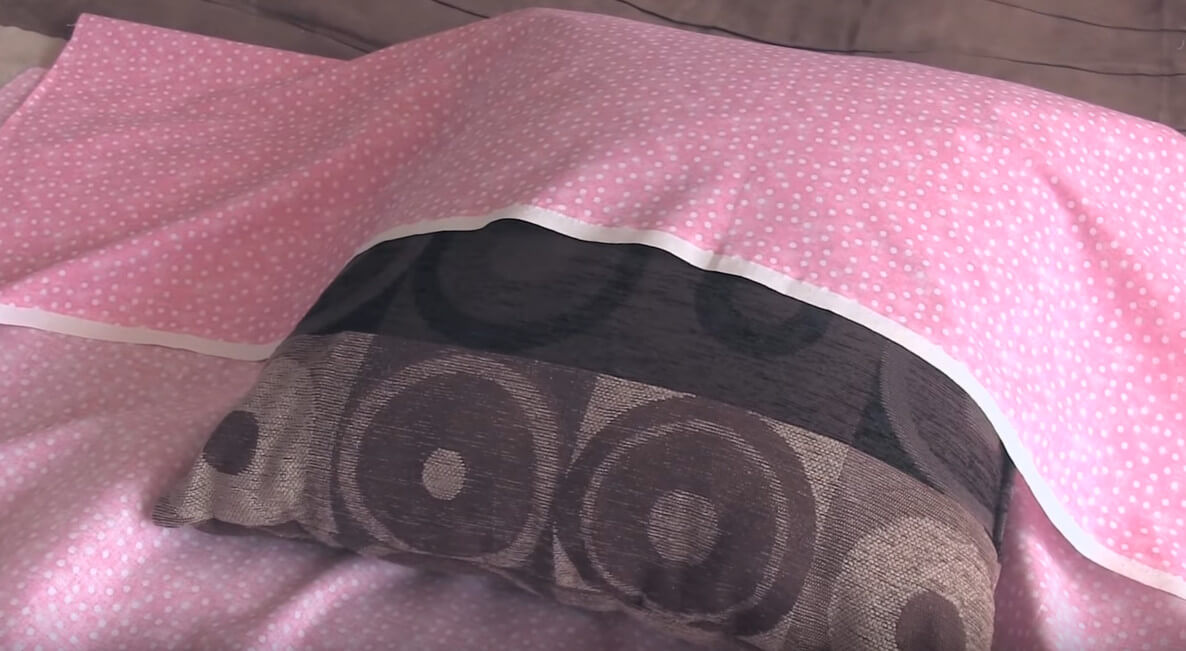
- Now, lay your fabric out and place your pillow in the center. Make sure you put your fabric pattern side down. Pull the top down so that the edge lays across the center of of your pillow.
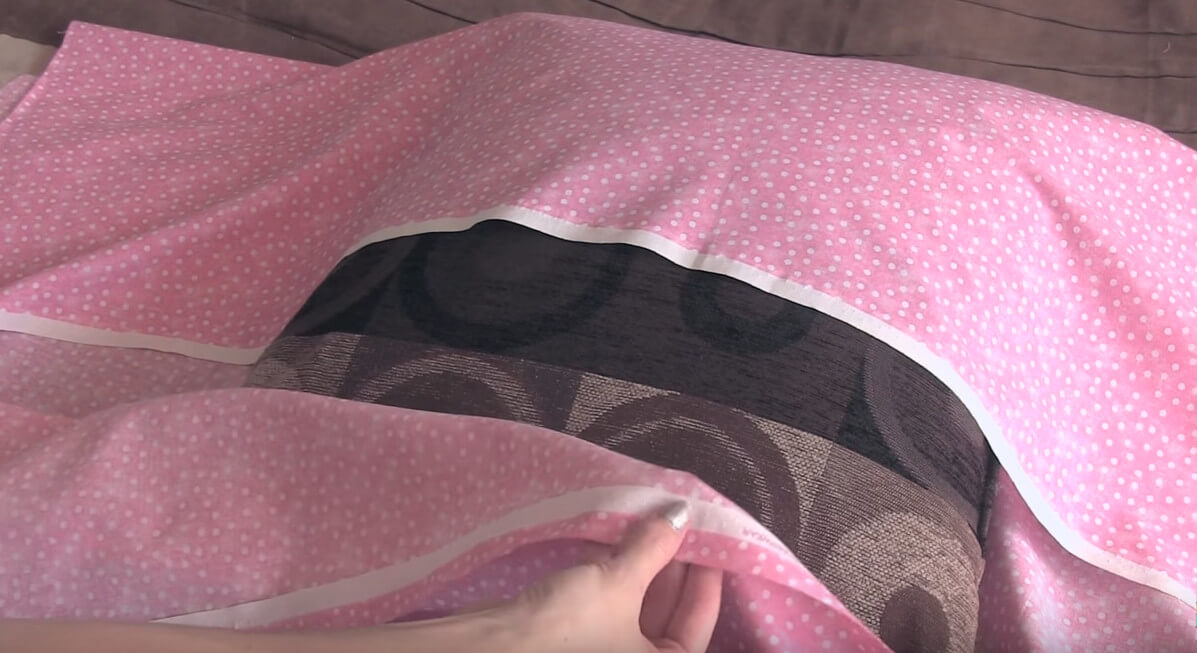
www.youtube.com - Using the hem tape, create a nice clean hem on the bottom flap of your pillow cover. This just keeps everything nice and in place. Iron over your hem to give it an even more finished look.
www.youtube.com - Use your fabric glue to attach your bottom flap over the edge of your top flap.
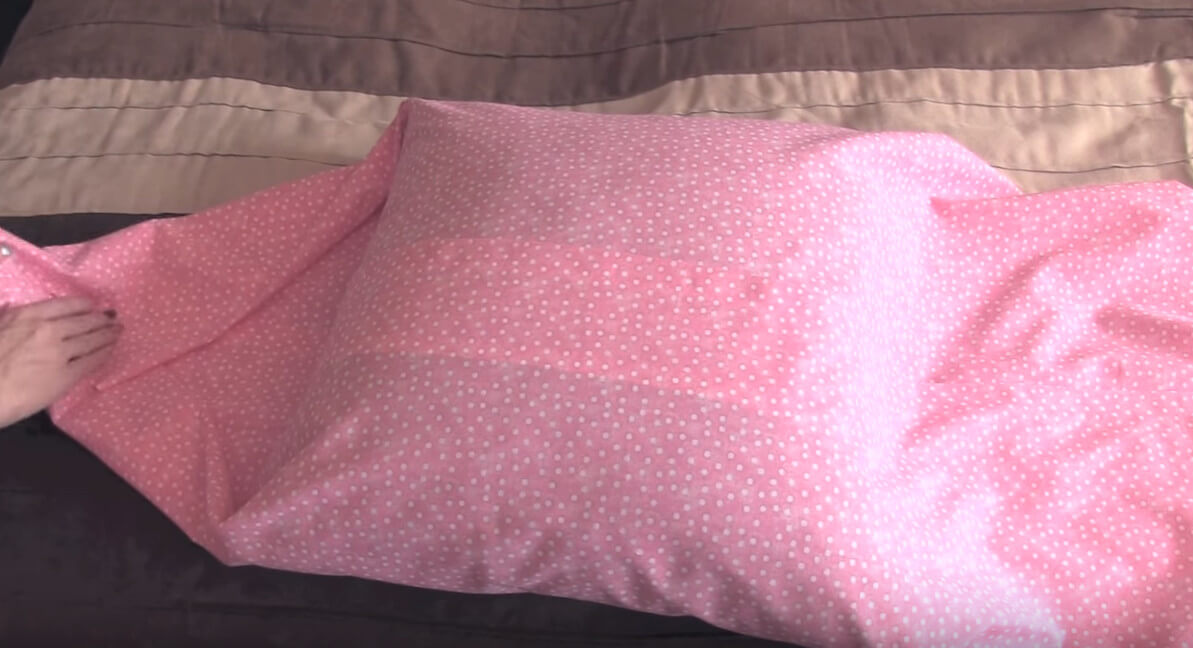
- Now begin bringing in your sides. Do this by gently folding it into a sort of triangle and gathering it in the center of your pillow. You can do this as many times as your like to get it just how you like it.
- Once one side is done, attach a rubber band to the end to keep it in place. Then do the same with the other side.
- Now you can either leave your rubber bands in place or instead tie them with thread. Now using the thread, tie each end to the other to keep them even more secure.
- Cut a strip of fabric to use as the center of your bow. Hem each side of the fabric and iron for a nice finished look.
- Tuck the end of your strip of fabric, hem side out, behind the center of your bow and glue the back of the end behind your bow center.
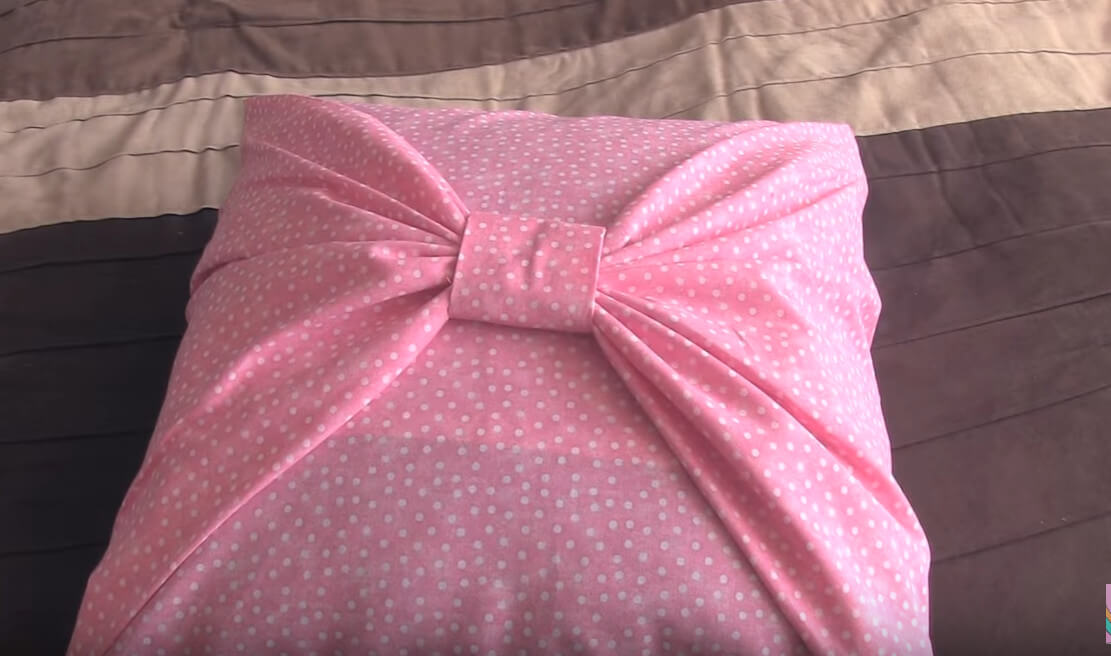
- Continue wrapping your bow, and carefully tuck and glue the end of it in.
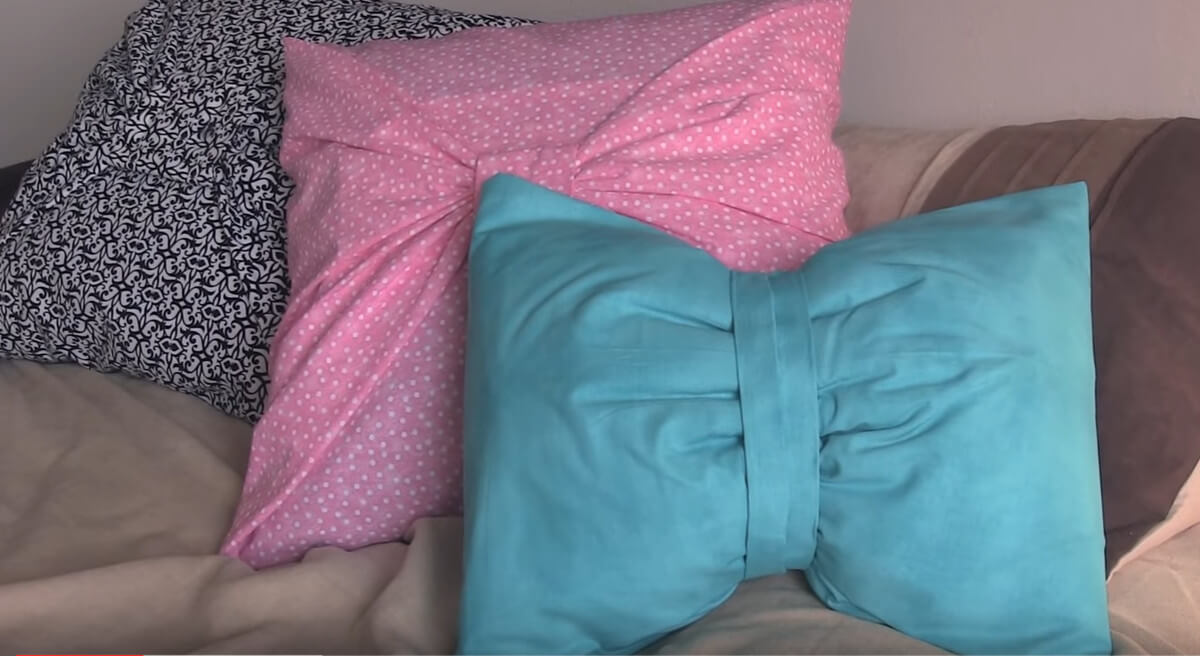
The finished product should look something like this:
Rectangular Pillow:
- Similarly to the previous pillow, lay your pillow in the center of your fabric and them trim as needed.
- This time, no hemming is needed as it will juts be scrunched up anyways.
- Now, fold over as you did in the previous pillow, but this time your sides will also be folded over to the center of the pillow.
- Take another strip of fabric (hemmed or not, you decide) and wrap it around the center of your pillow, top down.
- Tie the strip tightly around your pillow, tie side on the back.
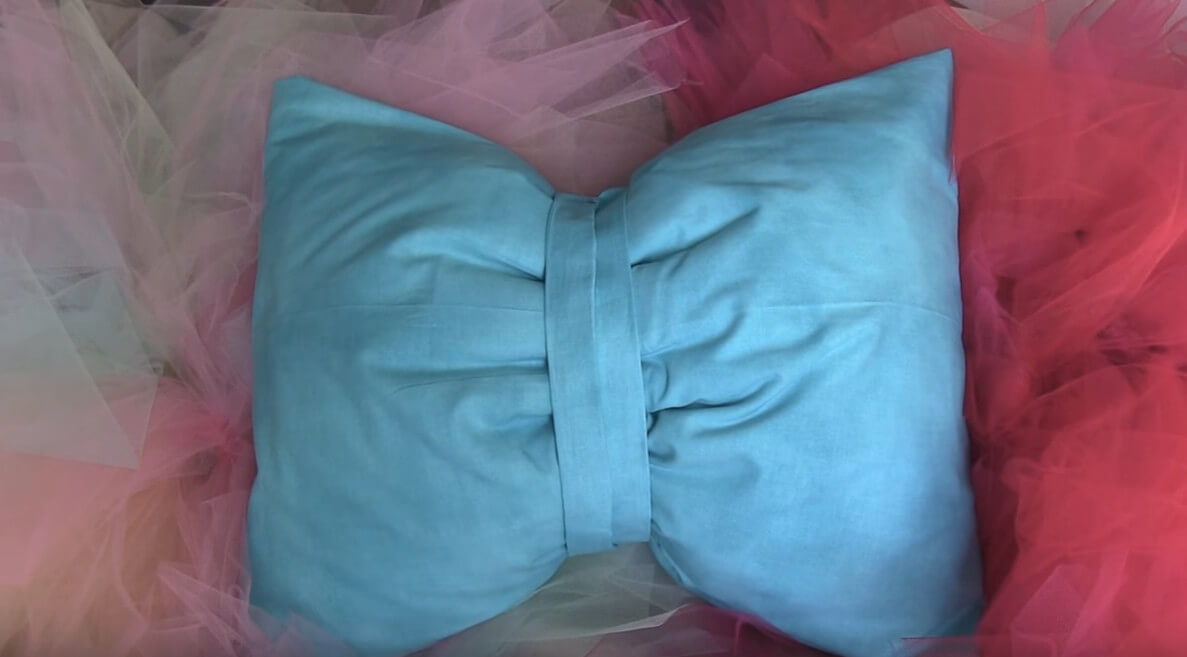
- Now take another, thicker strip of fabric, that has been hemmed and wrap it around your pillow, over where you had previously wrapped. Glue where the ends meet, which should be in the center of the back of the pillow.
Now you’re done! It should look something like this:
Enjoy your fancy new pillows and revamped decor! For added style, we recommend mixing patterns and colors of pillows!
For more info check out this video: