Whether you are a tu tu wearing kinda woman, or you have a little princess who’d love a tutu, you’ve gotta try this! These tu tu’s are so cute, yet so simple to make! They don’t take much time, and don’t require a lot of supplies. Even better, they require ZERO sewing! There are two different types to try in this DIY. One is more polished like a ballerina, and one is a little spunkier like a pixie!
Here’s what you’ll need:
- Tulle, various shades (3-4 rolls, 6 inch width)
- Elastic (1/2 inch, braided)
- Satin ribbon, to match your tulle (enough for a bow on each tu tu)
- a large width hurricane vase
- Scissors
- a Square plate
Let’s get started!
Polished Tu Tu
- Wrap your tulle around your plate, one roll at a time. Make sure to keep it nice and flat and not twisted.
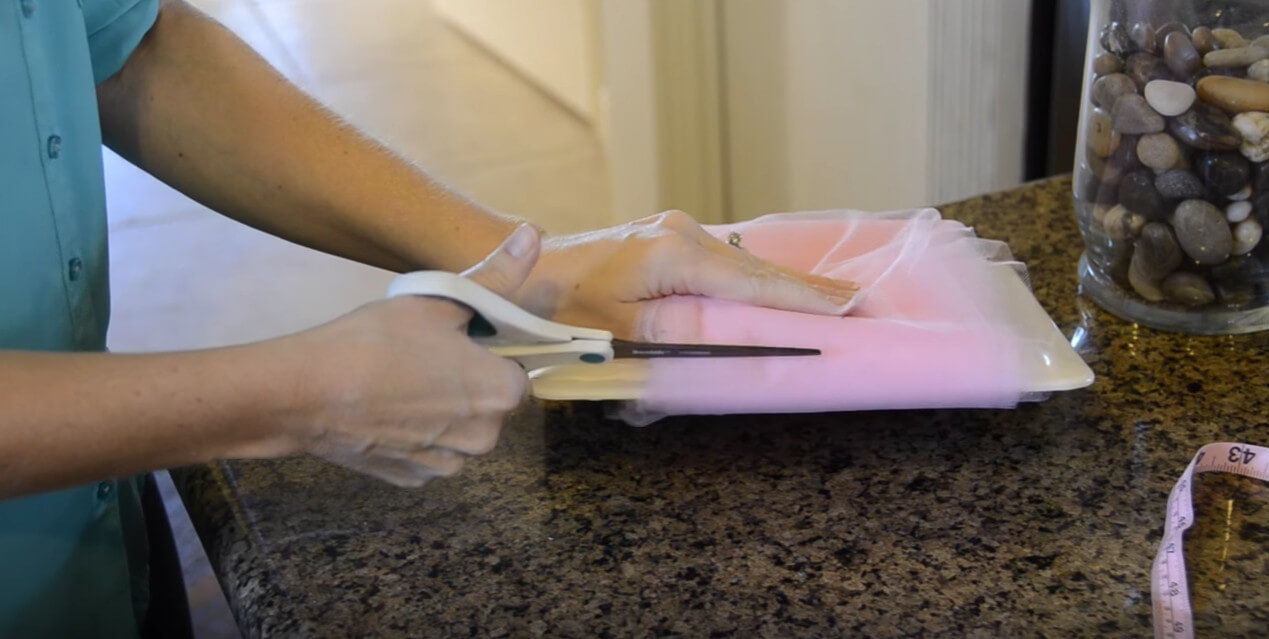
- Take a sharp pair of scissors and cut all the way through your rolled tulle as shown.
- Remove your tulle from the plate.
- Measure your elastic to fit whoever will be wearing the tu tu and then tie the end together to create the waist of your tu tu. Trim any excess band at the end of your knot.
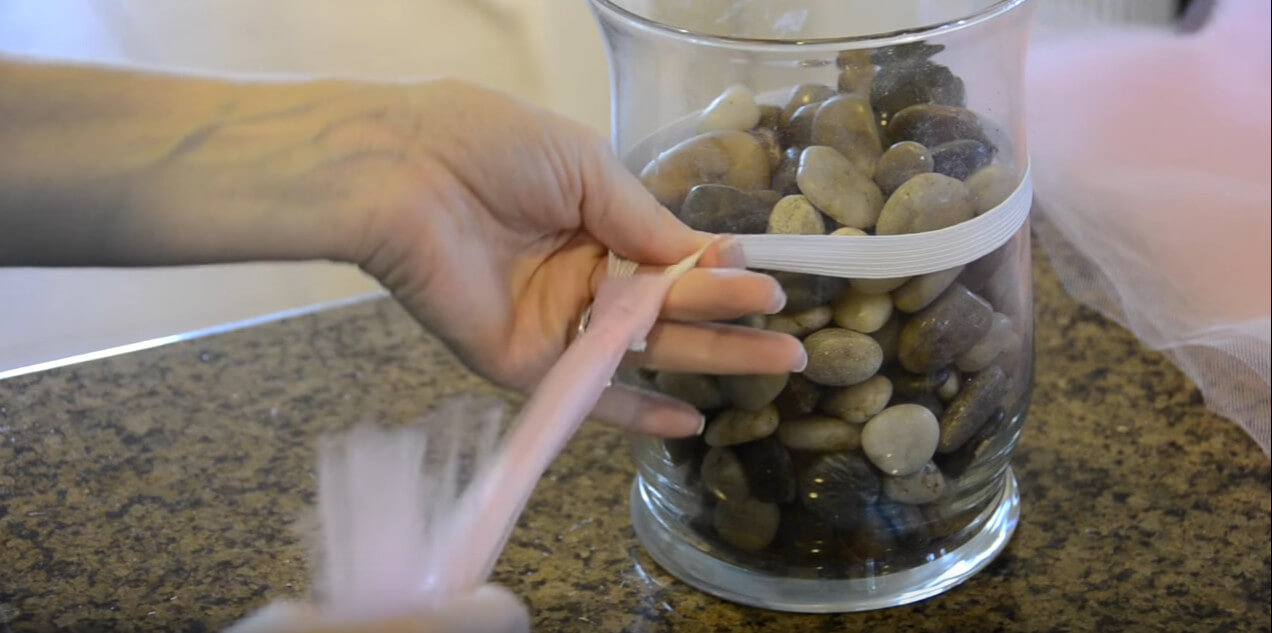
- Put your tied elastic band around your hurricane vase.
- Begin putting your tulle onto the elastic by folding it together at the center of the tulle. Then, loop it into the band as shown.
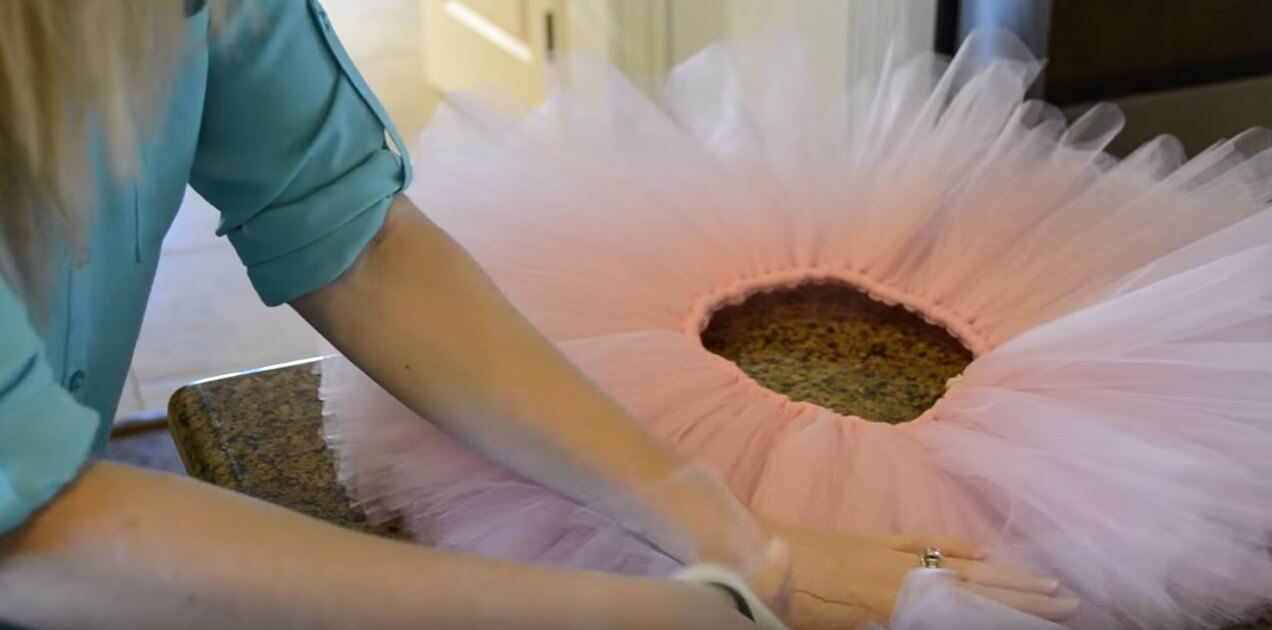
- Go all the way around your band. Once full. remove it from the vase and push your tulle together so that you can fill in the slack and make it thicker.
- Once full again, remove it from your vase and flip it over. Lay it flat on surface and carefully trim the edges to create a nice round look.
- Find your knot on your tu tu’s band and tie a pretty bow onto it with your ribbon
.Now you are done! Continue on to make a pixie tu tu also, or just enjoy your fancy polished tu tu!
Pixie Tu Tu
- Follow instructions above, with the exception of cutting your tulle at a sharp angle across your plate instead of straight across. Also, don’t worry about trimming! If you want to get really creative, alternate colors of tulle on your elastic band!
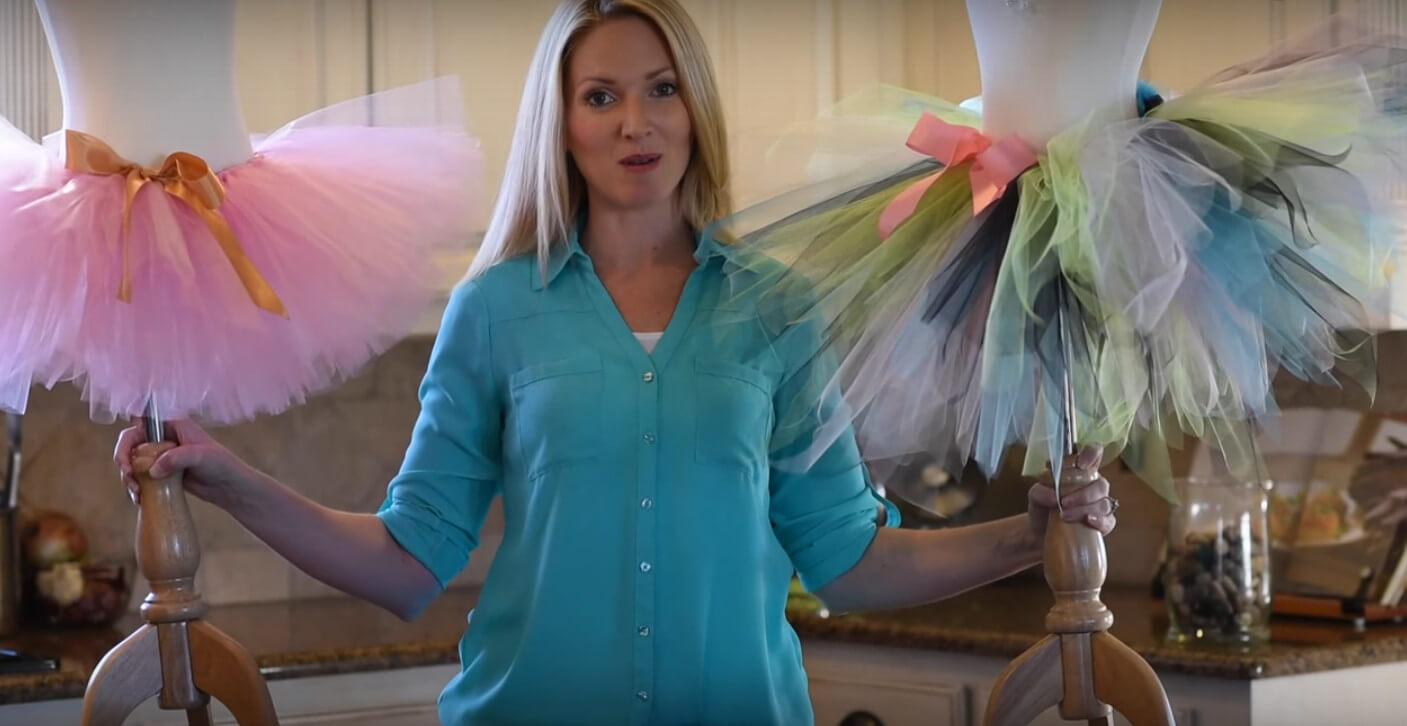
For more info, check out this video:
